A Gantt chart is a crucial tool in project management, providing a visual representation of a project's schedule. It helps project managers, team members, and stakeholders to understand the timeline, tasks, and dependencies within a project at a glance. By mastering the production of Gantt charts, one can effectively plan, execute, and monitor projects, leading to increased efficiency and better chances of project success.
The process of creating a Gantt chart involves several key steps. These steps ensure that the chart accurately reflects the project's scope, timeline, and resource allocation. Whether you are managing a small-scale project or a large, complex one, following these steps will help you create a comprehensive and useful Gantt chart.
In this article, we will explore the five key steps of Gantt chart production in detail. By understanding and implementing these steps, you can enhance your project management skills and make more informed decisions throughout the project lifecycle.
Step 1: Define the Project Scope and Objectives
The first and most fundamental step in creating a Gantt chart is to clearly define the project scope and objectives. This involves understanding what the project aims to achieve, what deliverables are expected, and what boundaries exist. Without a clear understanding of these aspects, it is impossible to accurately plan the project schedule.
To define the project scope, start by identifying the project's goals. What problem is the project supposed to solve? What are the desired outcomes? Once the goals are clear, break them down into specific deliverables. For example, if the project is to develop a new software application, the deliverables might include the software code, user documentation, and a testing plan.
Next, determine the boundaries of the project. What are the limitations in terms of time, budget, and resources? This will help you set realistic expectations and ensure that the project remains focused. By clearly defining the project scope and objectives, you lay a solid foundation for the rest of the Gantt chart production process.
Step 2: Break Down the Project into Tasks
After defining the project scope and objectives, the next step is to break down the project into smaller, manageable tasks. This process, known as work breakdown structure (WBS), helps in organizing the project work and making it easier to plan and schedule.
Start by identifying the major phases or milestones of the project. For example, in a construction project, the major phases might include site preparation, foundation laying, building construction, and finishing works. Once the major phases are identified, break them down further into individual tasks. For instance, under the site preparation phase, tasks could include land surveying, demolition of existing structures, and soil testing.
When breaking down tasks, it is important to ensure that each task is clearly defined, has a single owner, and is of a reasonable size. Avoid creating tasks that are too large or too small. Large tasks are difficult to manage and monitor, while small tasks can lead to an overly complex Gantt chart. By breaking down the project into well-defined tasks, you can accurately estimate the time and resources required for each task.
Step 3: Determine Task Dependencies
Once the tasks are identified, the next step is to determine the dependencies between them. Task dependencies define the order in which tasks need to be completed. Understanding these dependencies is crucial for creating a realistic project schedule.
There are four main types of task dependencies: finish-to-start (FS), start-to-start (SS), finish-to-finish (FF), and start-to-finish (SF). The most common type is finish-to-start, where one task must be completed before another can start. For example, in a software development project, the coding task must be completed before the testing task can begin.
To determine task dependencies, consider the nature of the work and the logical flow of the project. Some tasks may be independent and can be completed simultaneously, while others may be dependent on the completion of previous tasks. By mapping out these dependencies, you can create a sequence of tasks that will ensure the smooth progress of the project.
It is also important to note that changes in the dependencies can have a significant impact on the project schedule. Therefore, it is essential to regularly review and update the task dependencies as the project progresses.
Step 4: Estimate Task Durations and Allocate Resources
After determining the task dependencies, the next step is to estimate the duration of each task and allocate the necessary resources. Accurate duration estimates are crucial for creating a realistic project schedule, while proper resource allocation ensures that the tasks can be completed within the estimated time.
To estimate task durations, consider factors such as the complexity of the task, the availability of resources, and the experience of the team members. You can use historical data from similar projects, expert judgment, or a combination of both to make these estimates. For example, if you have previously completed a similar software development task in a certain number of days, you can use that as a reference for estimating the duration of the current task.
Once the task durations are estimated, allocate the necessary resources. Resources can include human resources, equipment, and materials. Make sure to consider the availability of these resources when making the allocation. For example, if a particular team member is only available for a certain number of hours per week, factor that into the resource allocation plan.
By accurately estimating task durations and allocating resources, you can create a Gantt chart that reflects the realistic timeline and resource requirements of the project.
Step 5: Create and Update the Gantt Chart
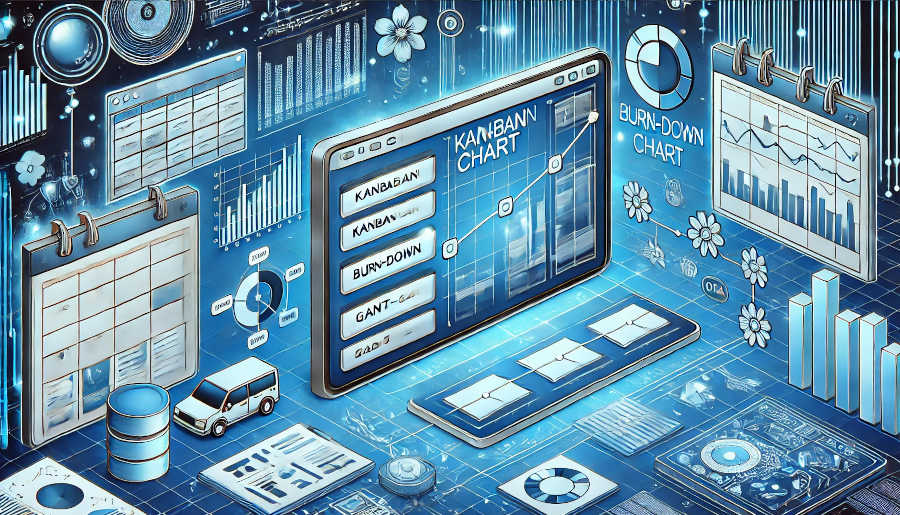
The final step in the Gantt chart production process is to create the actual Gantt chart and regularly update it as the project progresses. There are many project management tools available that can be used to create Gantt charts, such as Microsoft Project, Asana, and Trello.
Using the information gathered from the previous steps - task list, dependencies, durations, and resource allocation - input the data into the chosen project management tool. The tool will then generate a visual Gantt chart that shows the project timeline, tasks, and dependencies.
Once the Gantt chart is created, it is important to regularly update it. As the project progresses, tasks may be completed earlier or later than expected, new tasks may be added, or dependencies may change. By updating the Gantt chart in a timely manner, you can keep track of the project's progress, identify any potential issues, and make necessary adjustments to the schedule.
Regular updates also help in communicating the project status to the team members and stakeholders. A current Gantt chart provides a clear picture of where the project stands, what tasks are upcoming, and what issues need to be addressed.
Conclusion
Mastering the five key steps of Gantt chart production is essential for effective project management. By clearly defining the project scope and objectives, breaking down the project into tasks, determining task dependencies, estimating task durations and allocating resources, and creating and updating the Gantt chart, project managers can create a comprehensive project schedule that increases the chances of project success.
A well-produced Gantt chart serves as a roadmap for the project, guiding the team members in their work and helping the project manager to monitor progress and make informed decisions. It also provides a clear communication tool for stakeholders, ensuring that everyone is on the same page regarding the project timeline and expectations.
In today's dynamic business environment, where projects are becoming increasingly complex and time-sensitive, the ability to create and use Gantt charts effectively is a valuable skill. By following the steps outlined in this article, project managers can enhance their project management capabilities and drive projects to successful completion.
Remember, the process of creating a Gantt chart is not a one-time activity. It requires continuous monitoring, updating, and adjustment as the project evolves. With practice and experience, you will be able to create accurate and useful Gantt charts that will contribute to the overall success of your projects. So, start applying these steps in your next project and experience the difference that a well-crafted Gantt chart can make.
ARTICLE TITLE :Master the 5 key steps of Gantt chart production ,AUTHOR :ITpmlib