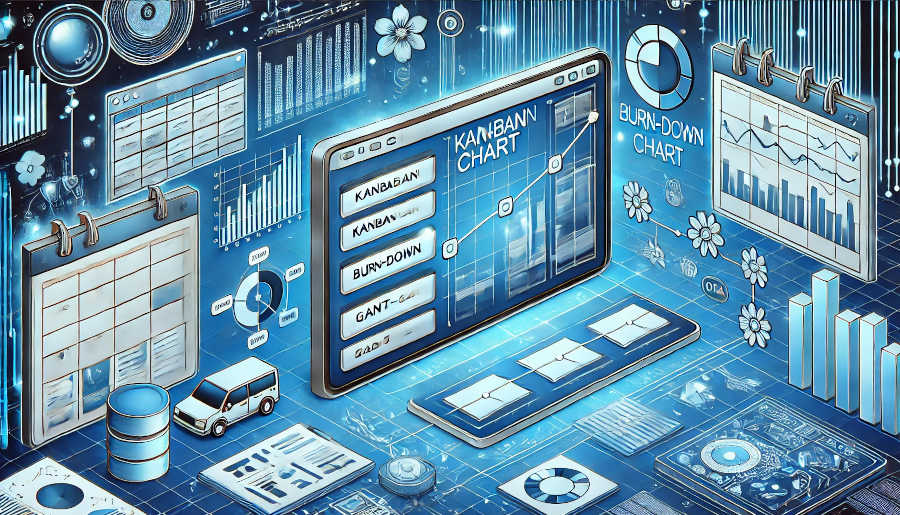
A Gantt chart is a visual representation of a project schedule. It provides a clear overview of the start and end dates of various tasks, their durations, and dependencies. This graphical tool has been widely used in project management for decades due to its simplicity and effectiveness. By using a Gantt chart, project managers can easily communicate the project plan to team members, stakeholders, and clients. It helps everyone involved in the project to understand what needs to be done, when it should be completed, and how different tasks are related to each other.
The horizontal axis of a Gantt chart represents time, usually divided into days, weeks, months, or years depending on the scale of the project. The vertical axis lists the tasks or activities that make up the project. Each task is represented by a bar, whose length corresponds to the duration of the task. The position of the bar on the time axis indicates the start and end dates of the task. This visual layout allows for quick identification of the project timeline and the sequence of tasks.
Moreover, Gantt charts can also show task dependencies. For example, some tasks may need to be completed before others can start. These relationships are often depicted using arrows connecting the relevant task bars. Understanding these dependencies is crucial for effective project planning and progress control. It helps in predicting potential bottlenecks and resource constraints in advance, enabling the project manager to make necessary adjustments to keep the project on track.
Defining Project Tasks
The first step in creating a perfect Gantt chart is to clearly define all the tasks involved in the project. This requires a detailed breakdown of the project scope. Start by identifying the major deliverables of the project. For instance, in a software development project, the major deliverables could be the design document, the coded software, and the test report. Then, break down each deliverable into smaller, manageable tasks.
When defining tasks, it is important to be as specific as possible. Vague tasks can lead to confusion and inaccurate scheduling. Each task should have a clear description of what needs to be accomplished. For example, instead of a task named "Develop software," break it down into tasks like "Write code for user interface," "Develop database schema," and "Implement business logic." This level of detail allows for more accurate estimation of task durations and resource requirements.
In addition, involve the relevant team members in the task definition process. They have hands-on experience and can provide valuable insights into the tasks. Their input can help in identifying any potential challenges or dependencies that might not be obvious to the project manager. By including them, you also increase their ownership and commitment to the project, as they have been part of the planning stage.
Estimating Task Durations
Once the tasks are defined, the next crucial step is to estimate their durations. This is not an easy task as there are many factors that can affect the time it takes to complete a task. One approach is to use historical data. If similar projects have been completed in the past, look at how long it took to complete similar tasks. For example, if in previous software projects, it took an average of two weeks to develop a specific module, this can be used as a starting point for estimating the duration of a similar module in the current project.
However, it's important to note that historical data should be adjusted for any differences in the current project. New technologies, changes in team composition, or different project requirements can all impact task durations. Another method is to consult with experts or team members who have experience in the relevant areas. They can provide their best estimates based on their knowledge and skills.
When estimating task durations, it's also advisable to build in some buffer time. This is especially important for tasks that are prone to uncertainties or risks. For example, in a construction project, weather conditions can significantly affect the progress of outdoor tasks. By adding a buffer, you can account for unexpected delays and still keep the project on schedule. But be careful not to overestimate the buffer, as it can lead to inefficiencies and increased costs.
Identifying Task Dependencies
Task dependencies play a vital role in project scheduling. There are different types of dependencies, such as finish-to-start (FS), start-to-start (SS), finish-to-finish (FF), and start-to-finish (SF). The most common type is finish-to-start, where one task must be completed before another can begin. For example, in a building project, the foundation must be completed before the construction of the walls can start.
Identifying these dependencies accurately is essential for creating a realistic Gantt chart. It helps in determining the correct sequence of tasks and avoiding situations where tasks are scheduled in a way that violates their dependencies. To identify dependencies, start by looking at the nature of the tasks. Some dependencies are obvious based on the logical flow of the project. For example, in a manufacturing process, the raw materials need to be procured before production can start.
In addition, communicate with the team members involved in different tasks. They may be aware of hidden dependencies that are not immediately apparent. For example, a software developer may know that a particular coding task depends on the availability of a specific library that needs to be installed first. By uncovering these dependencies early on, you can ensure that the Gantt chart reflects the true nature of the project and helps in effective progress control.
Assigning Resources
Resources are the people, equipment, and materials required to complete the project tasks. Assigning the right resources to each task is crucial for the successful execution of the project. First, identify the types of resources needed for each task. For example, in a graphic design project, the resources may include graphic designers, design software, and high-resolution monitors.
Once the resource types are identified, determine the quantity of each resource required. This may depend on the complexity and duration of the task. A large-scale design project may require multiple designers working simultaneously to meet the deadline. When assigning resources, consider the skills and availability of the team members. Make sure that the assigned resources have the necessary expertise to complete the tasks effectively.
It's also important to balance the workload across resources. Overloading a particular resource can lead to burnout and decreased productivity. Use resource management tools or techniques to ensure that resources are evenly distributed. For example, if a team member is already assigned to multiple high-priority tasks, reevaluate the schedule and consider redistributing some tasks to other available resources.
Creating the Gantt Chart
Now that you have defined the tasks, estimated their durations, identified dependencies, and assigned resources, it's time to create the Gantt chart. There are many project management software tools available that can help you create a Gantt chart easily. Some popular tools include Microsoft Project, Asana, and Trello.
When using a software tool, input all the information you have gathered so far. Enter the task names, start and end dates, dependencies, and resource assignments. The software will then generate a visual Gantt chart based on this data. Customize the chart to make it clear and easy to read. You can add labels, colors, and legends to distinguish different tasks, dependencies, and resources.
Review the Gantt chart carefully to ensure that it accurately represents the project plan. Check for any errors or inconsistencies in the task durations, dependencies, or resource assignments. Make any necessary adjustments to make the chart as realistic and useful as possible. A well-created Gantt chart should provide a clear roadmap for the project, allowing everyone involved to understand the project schedule at a glance.
Monitoring and Updating the Gantt Chart
A Gantt chart is not a static document. It needs to be continuously monitored and updated throughout the project lifecycle. Regularly review the progress of the tasks against the schedule. Compare the actual start and end dates of tasks with the planned ones. If there are any deviations, analyze the reasons behind them.
For example, if a task is behind schedule, it could be due to a lack of resources, unexpected technical problems, or changes in requirements. Once the reasons are identified, take appropriate actions to get the project back on track. This may involve reallocating resources, adjusting the schedule, or resolving the technical issues.
As the project progresses, new tasks may arise, or existing tasks may need to be modified. Update the Gantt chart accordingly to reflect these changes. By keeping the Gantt chart up-to-date, you can ensure that it remains a reliable tool for project progress control. It helps in making informed decisions, communicating the project status to stakeholders, and ultimately achieving the project goals.
In conclusion, creating a perfect Gantt chart is a multi-step process that requires careful planning, accurate estimation, and continuous monitoring. By following these seven steps - understanding the basics, defining project tasks, estimating task durations, identifying task dependencies, assigning resources, creating the Gantt chart, and monitoring and updating it - project managers can develop a comprehensive and effective project schedule. A well-crafted Gantt chart serves as a valuable tool for project progress control, enabling teams to work together efficiently, meet deadlines, and deliver successful projects. It provides a clear visual representation of the project plan, highlighting potential issues and allowing for timely adjustments. With the right approach and attention to detail, the Gantt chart can be a key asset in any project management endeavor, helping to ensure that projects are completed on time, within budget, and to the desired quality standards.
ARTICLE TITLE :Project progress control: 7 steps to draw a perfect Gantt chart ,AUTHOR :ITpmlib